Sitebulb Pro users are able to set up Projects to run scheduled or recurring audits, which can be done at the initial audit setup or retrospectively added at a later date.
This article will walk you through how scheduling works and how to do it. Don't miss the last section, which describes how you can pair this with automatic exporting to set up a fully automated workflow.
You can jump to a specific area of the guide using the jumplinks below:
For those that prefer video guides, we have a complete demonstration of the scheduling feature on the video below:
Before we start, a note on the lexicon. A scheduled audit simply relates to a single audit that is scheduled to run at a particular date, whereas a recurring audit is one that automatically runs at the same time each month/week/day.
Scheduled audits are particularly useful if you need to audit websites during specific time periods. For example, consider a busy ecommerce store, the development team may insist that the site is only ever crawled in the middle of the night when traffic is at its lowest. Scheduling allows you to avoid that 2am alarm clock!
Recurring audits are particularly useful if you need to run regular audits on the same websites. For example, if part of your client contract is to do a technical health check each month on the website. Setting a recurring monthly audit ensures that you have all the data you need, when you need it.
When setting up a new audit, once you have finished customising the other elements, you should notice an option at the bottom entitled Scheduling.
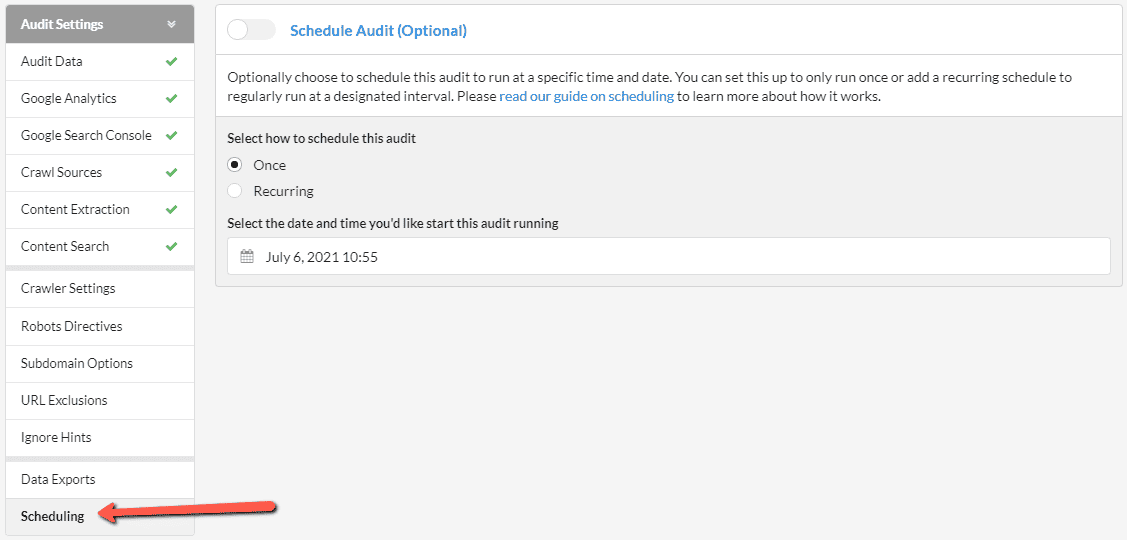
If you wish to add a schedule, enable the Schedule Audit box;
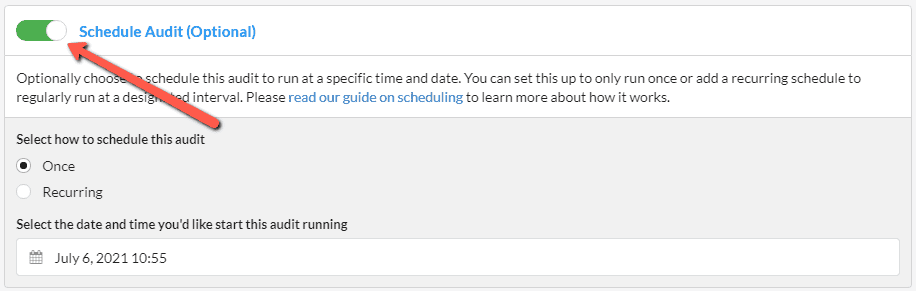
This will open up the Scheduling panel and options. By default, the 'Once' radio button is selected, which essentially means you are setting up a scheduled audit to run only once, but not regularly recur.
All that is left to do is select a date and time, which can be specified to a 5 minute interval:
You may notice that the green button at the bottom right, which normally says Start Now, has switched out to Save Audit, since the audit is scheduled for the future and will not actually run immediately.
A recurring audit is effectively a special case of a scheduled audit, so the initial steps as above are all the same.
To set up a recurring audit, this time you need to select the Recurring radio button, which will also open up a set of new options underneath.
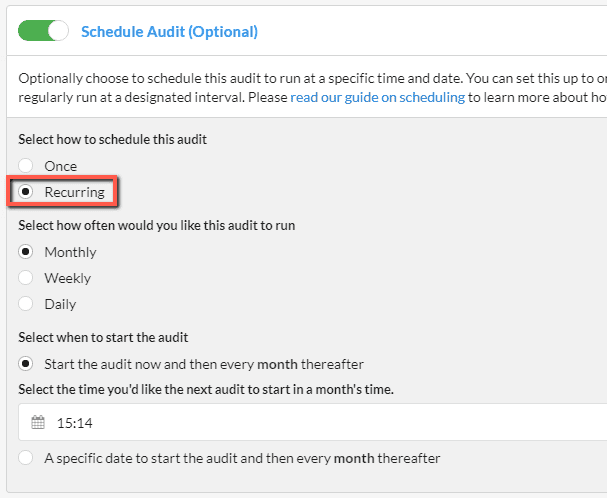
The next set of options are self-explanatory, but I will explain them nonetheless:
This section is a little less intuitive. The default option is that the audit will start now and will run in its entirely, and then Sitebulb will schedule the audit to recur every month/week/day (based on the option you selected above).
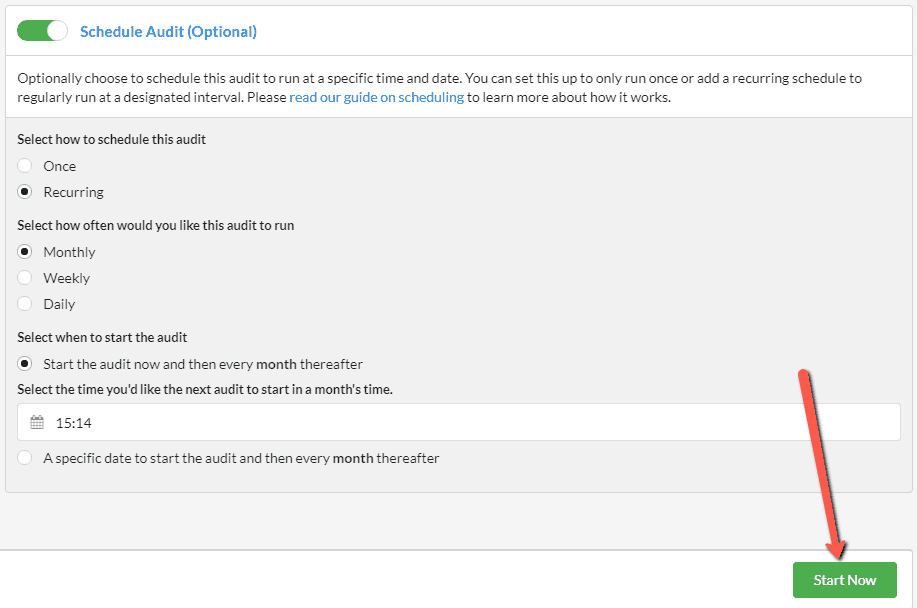
Using the time selector, you can pick a time in the day for the recurring audits to run:
In the example above, we've set up an audit to run now (10:42) and then recurring every month at 23:25. So the first audit will run right now and the second audit will run in one month, at 11:25pm. Then all future audits will run every month at 11:25pm.
Since the selected option is to start the audit now, the green button bottom right stays as Start Now:
The alternative option here is to select a specific time to start the first audit, and at the same time set up a recurring schedule. This is effectively a combination of the two concepts - we set up a single scheduled audit (without running one right away) and then set this to be recurring with a specific periodicity.
Here is an example setup:
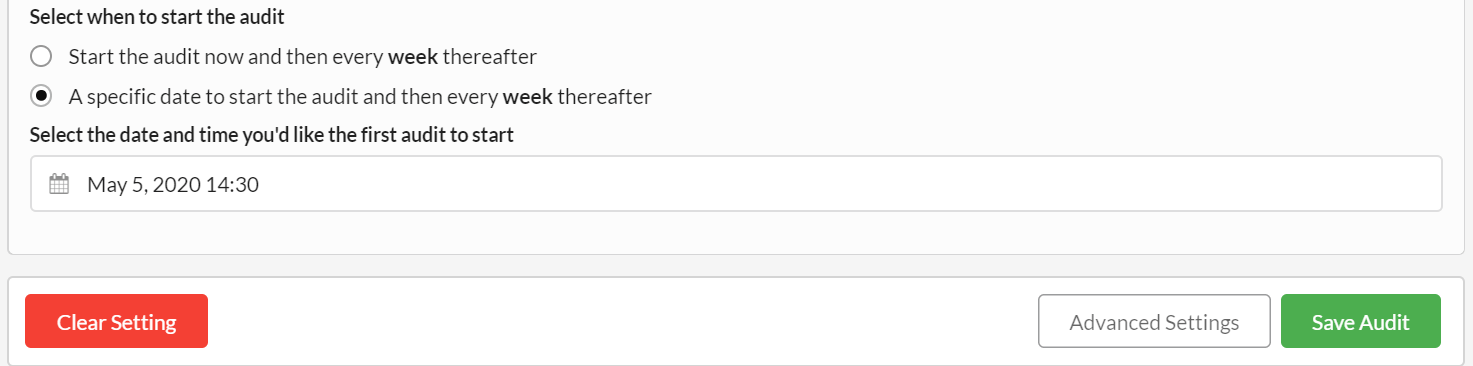
So, in this example we switched to a weekly recurring audit, then set the first audit to run on May 5th at 14:30.
Now, if you check the screenshot below, you can see that the green button has changed to Save Audit. For clarity, this means that the first audit will not run now, but will automatically run on May 5th at 2:30pm, and then it will run every Tuesday thereafter, also at 2:30pm.
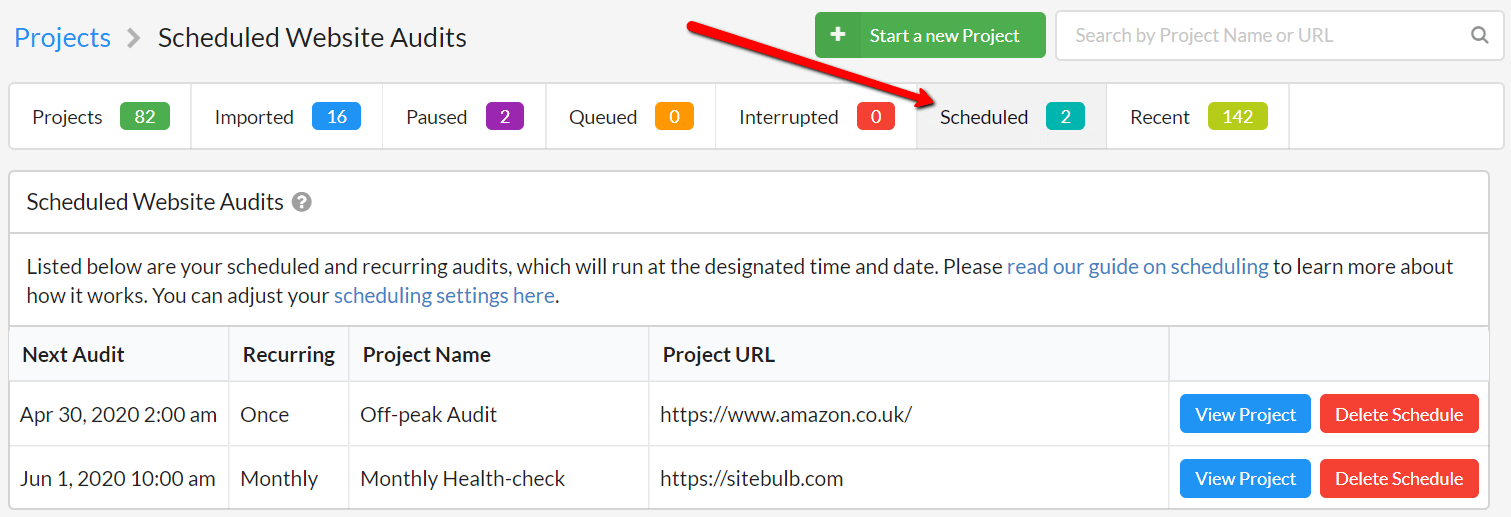
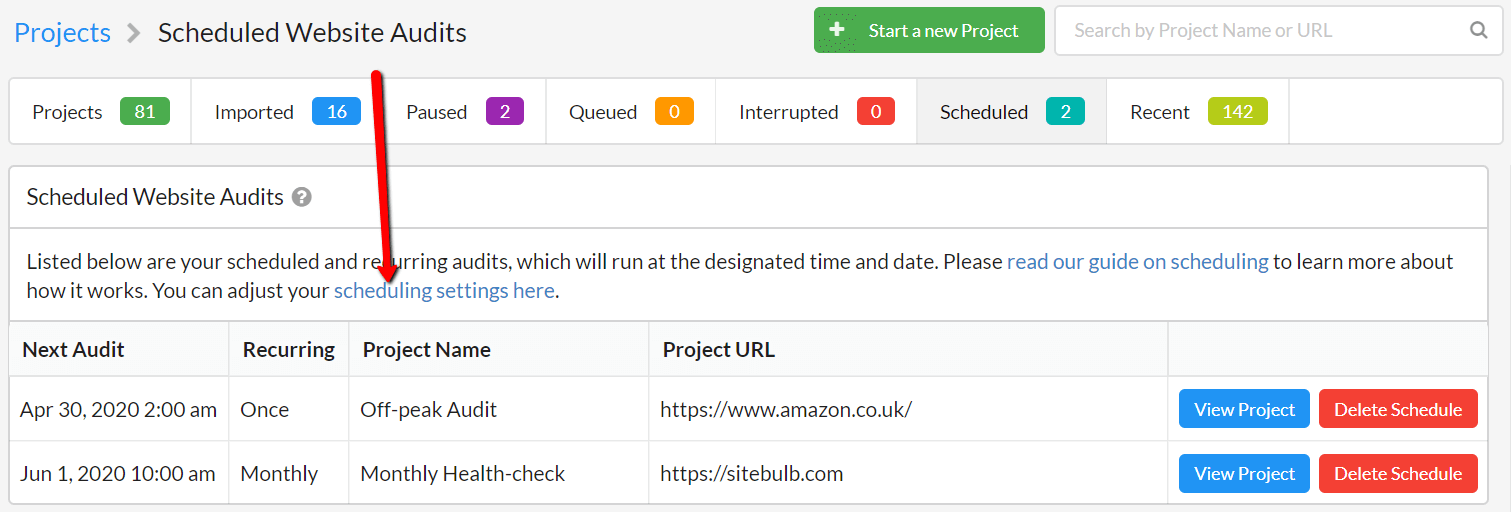
Once you have some scheduled audits set up, you can quickly and easily view them by navigating to the Scheduled tab from the main Projects screen. You will see your scheduled audits listed below, along with the 'Next Audit' run date, and the recurring interval, if the audit is set to recur.
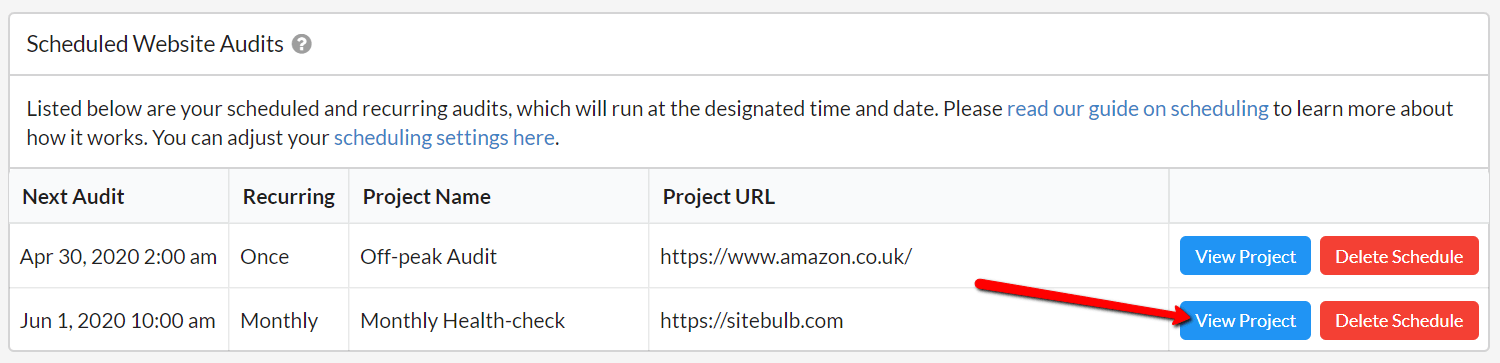
Then, to navigate to a specific project, click the View Project button for the corresponding audit:
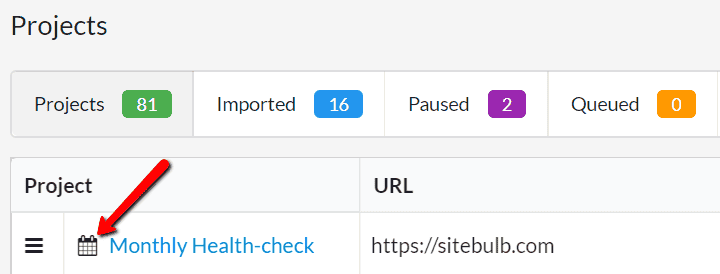
As an aside, you can also differentiate any Projects that have scheduling set up from the main Projects list, delineated by a little calendar symbol:
Let's say you have a recurring audit set up to run every week, and your client calls up to let you know that they have uncerimoniously implemented AMP (without telling you first!!!). You may now wish to include AMP validation as part of your weekly audit in Sitebulb. By editing the project settings, you can go in and add AMP to the crawl settings, so that Sitebulb will also check this every week.
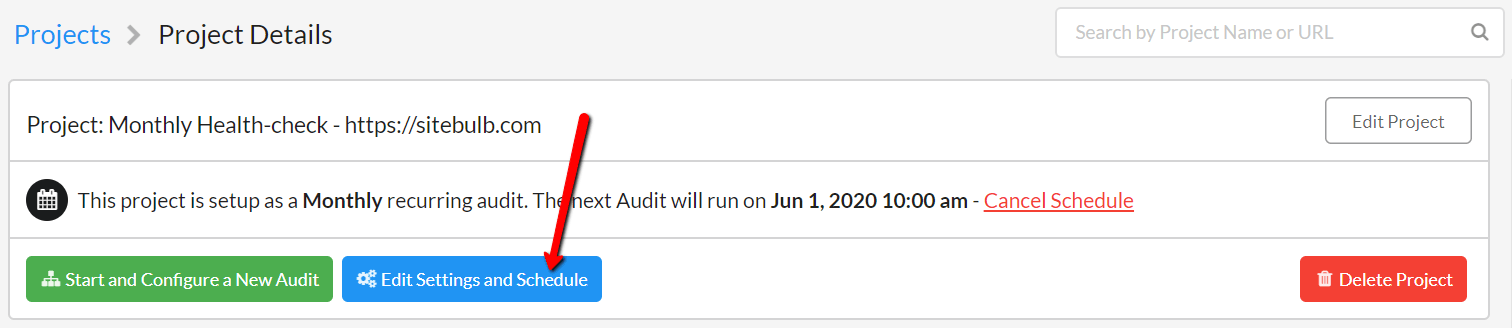
In order to do this, navigate to the project in question (see instructions above), and hit the blue button Edit Settings and Schedule:
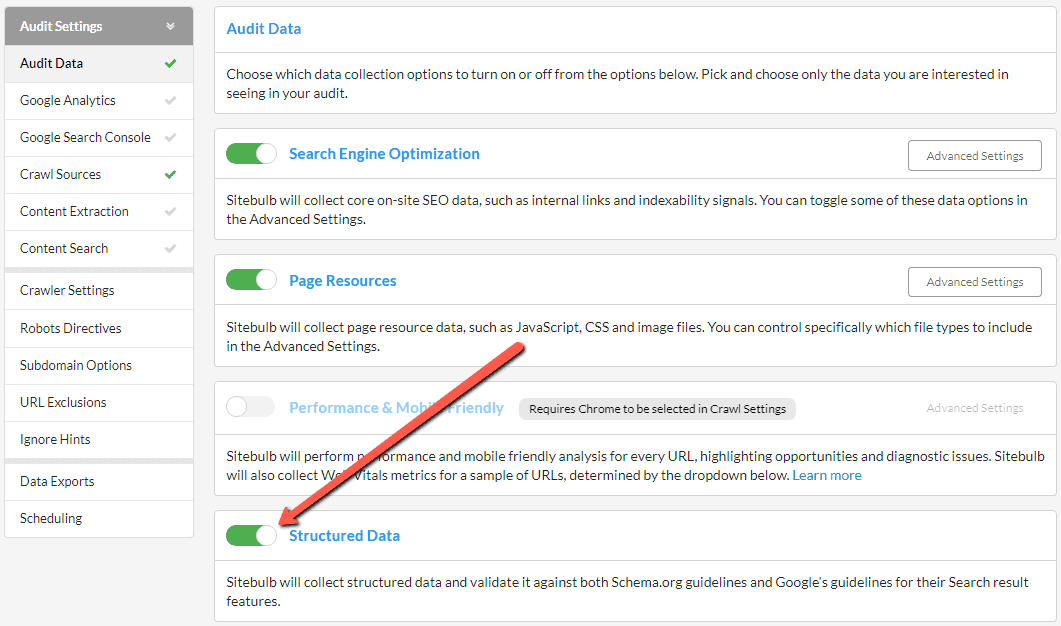
This will open up the familiar 'Audit setup' page, which you can then adjust as required. In this case, all we wanted to do was add Structured Data validation, so it is just a case of checking the 'Structured Data' tickbox and then hitting the Save Changes button. However, you can go in and change any element of the audit setup, including Advanced Settings on the left. Just make sure to hit save!
An extension of the above, you can choose to edit the scheduling of an audit as well. Simply navigate to the project, and open up the audit setup page using the blue button Edit Settings and Schedule.
Then, scroll down and press the Schedule Audit thumbnail button, to open up the scheduling panel. You can change any element of the schedule, including the recurrence interval and when the next audit should run. Make sure to hit the Save Changes button!
Let's say you have a recurring audit set up to run every month, but your client calls and tells you they have just made multiple changes to the robots.txt file on a whim (b@5$ards!), so you figure 'I'd better audit the site now!'.
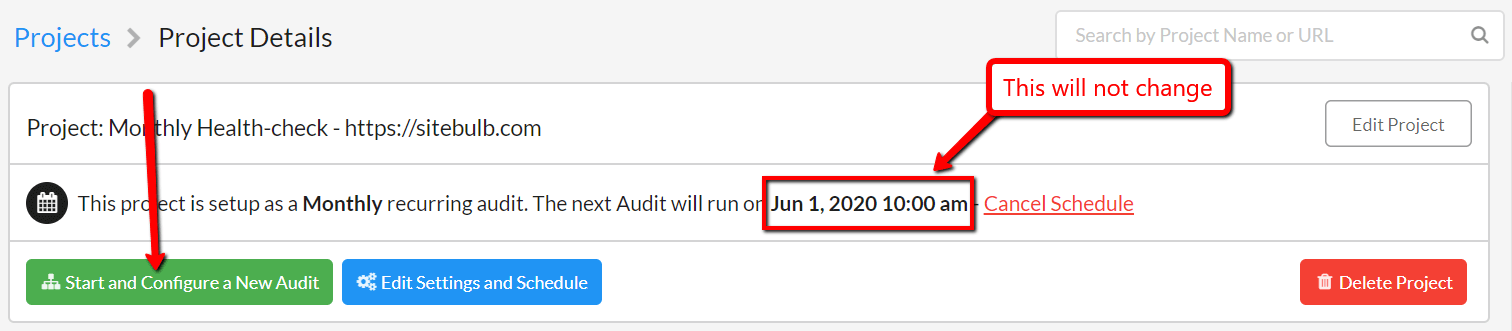
Well, you can do this too, and setup Sitebulb to run an ad hoc audit, without interfering with your pre-scheduled recurring monthly audit.
As before, navigate to the project page, and hit the green button Start and Configure a New Audit, which will allow you to start a new audit right away, and will not change the recurring or scheduled date you have already put in place.
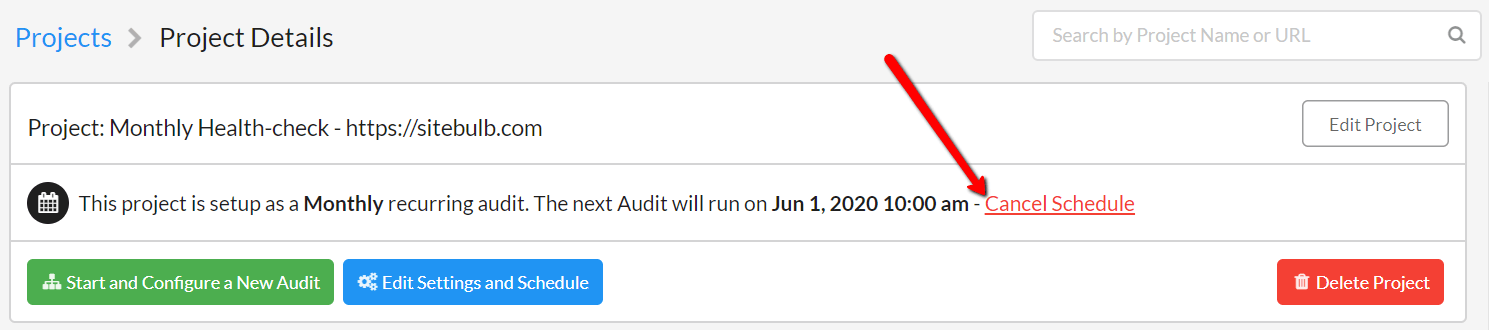
If you realise that you no longer want a specific scheduled or recurring audit to run, you can simply cancel the schedule off the project. All this will do is remove the scheduled element - all scheduled or recurring audits will be removed, and it will revert back to a normal project. Note that this will not delete the project, just the schedule.
In order to do this, navigate to the project in question and hit the Cancel Schedule text link.
The default behaviour of scheduled audits works on the basis of two core assumptions:
If both of these assumptions are met, Sitebulb will handle scheduled audits just fine. If either of them is not, then it is not possible for Sitebulb to carry out the scheduled audit.
However, Sitebulb has a number of in-built settings that help mitigate these issues, which are accessible via this link on the Scheduled Audits page:
This will bring you to a settings page with specific scheduling settings:

These tickboxes offer the following options:
These options come with a degree of nuance, so you may wish to read below for a more complete explanation of why they exist and how you might wish to use them.
If you tick this option, it will over-ride all scheduled Audits so that none of them run until this box is un-ticked. Let's say you are going on holiday for 2 weeks and know you won't be around to look at any scheduled audits that come in during the time you are away, it might be suitable to stop scheduled audits from running until you are back.
Once you un-tick this box, any recurring Audits will be rescheduled for the next available date.
If you tick this option, Sitebulb will load up whenever you switch on your machine, and run silently in the background, without a visible user interface. It will sit in your system tray, waiting for when it is needed.
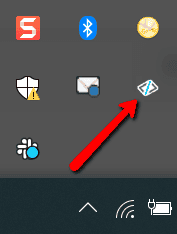
Then, when scheduled Audits are due to start, Sitebulb will run these in the background. You'll get a notification message when it does:

Note: On Mac, Sitebulb will need to be given permission to do this, for which you will need to grant by clicking OK;

But once you do, you'll also see the notification in the top right of your screen, whenever Sitebulb starts running a scheduled audit in the background:

If you tick this option, Sitebulb will queue and run any scheduled Audits that have been missed because Sitebulb was not running.
By default, if you missed an Audit for today’s date, Sitebulb will queue and run the Audit the next time you open the software. However, if you miss an Audit for any other day, Sitebulb will not run them by default. If you tick the box, it will run them regardless of the date.
As an example, let's say you had some audits set up to run like this:
If you went on holiday for a month and your machine was off the entire time, when you came back into the office and opened up Sitebulb it would do the following:
Since scheduled audits are often run in the background or on a remote machine, it is easy to forget that you sent Sitebulb off to do this task, and so adding an email alert when the crawl is finished can be a helpful reminder.
You can set this up in Sitebulb via the 'Crawler Settings' options on the left-hand menu in the audit setup:
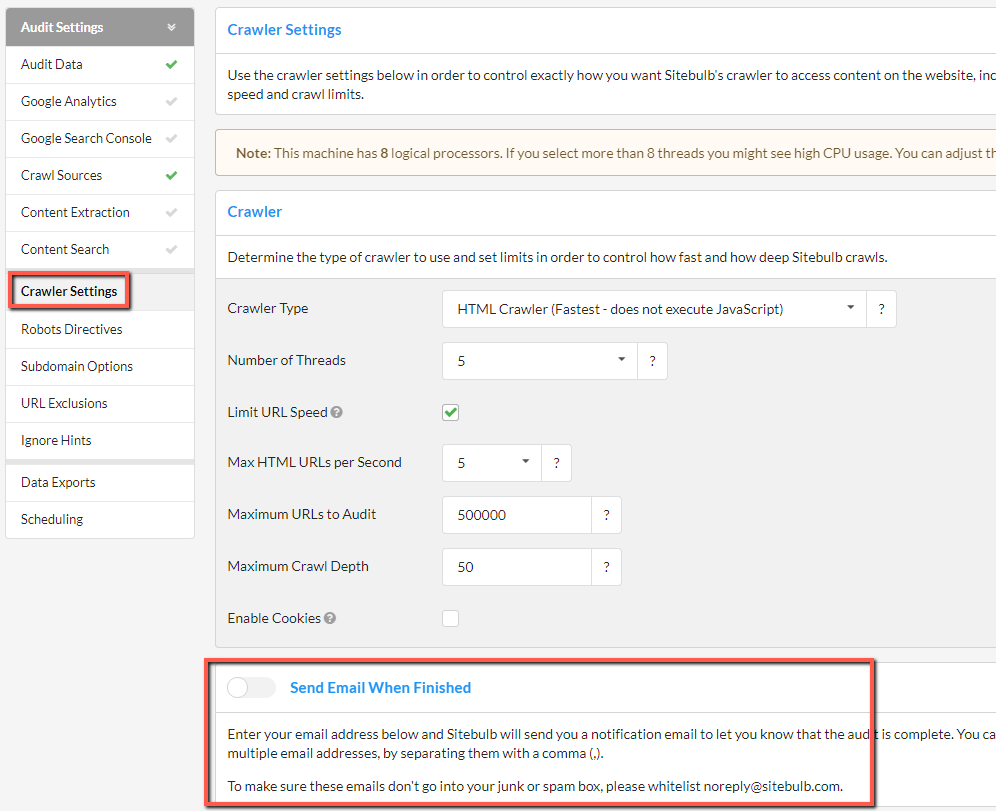
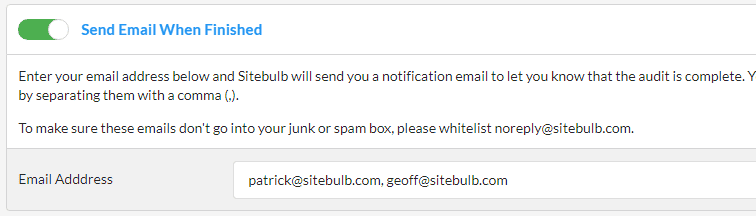
To set this up, toggle the checkbox on, enter your email address in this box (or multiple addresses, comma separated) and Sitebulb will send you a friendly email whenever your audit is finished:
This is the cherry on the cake of the scheduling feature. It allows you to build a fully automated workflow where Sitebulb can run audits in the background and automatically upload the export files to Google Sheets once and audit has finished running. This saves the manual legwork of doing it once an audit is complete, and enables you to build out some nifty automated systems - for example, pushing data to Google's Looker Studio (check out our Looker Studio guide here).
To automate uploading to Sheets, you must set this up at the project level (i.e. each project must be handled separately), which you can do when starting a new project or editing an existing project.
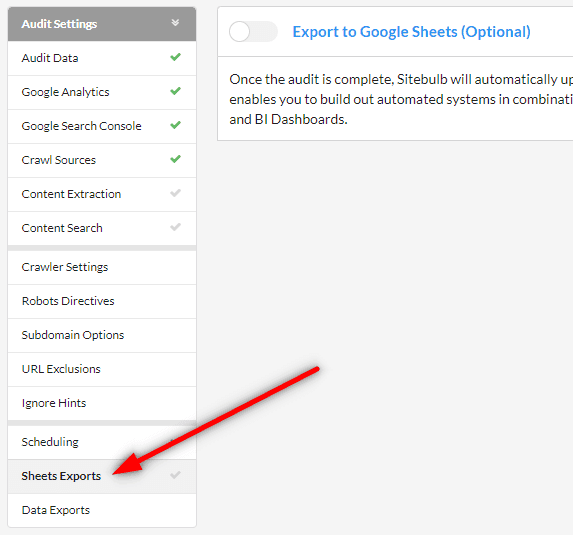
Once you are in the audit settings screen, click on the Sheets Exports option from the left hand menu.
Once you have enabled the option, you will then need to add a Google Sheets account to upload to.
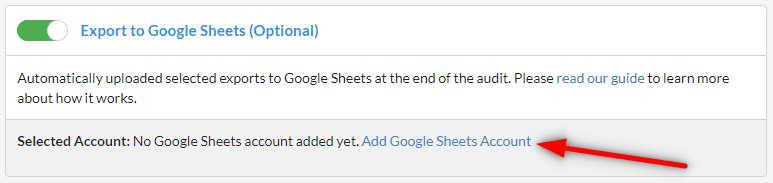
If you already have Google Sheets accounts authenticated through Sitebulb, you can select one of these, otherwise you'll need to authorise permissions for a new account.

Once this is done, all you need to do is select from the checkbox list which options you wish to be automatically uploaded.
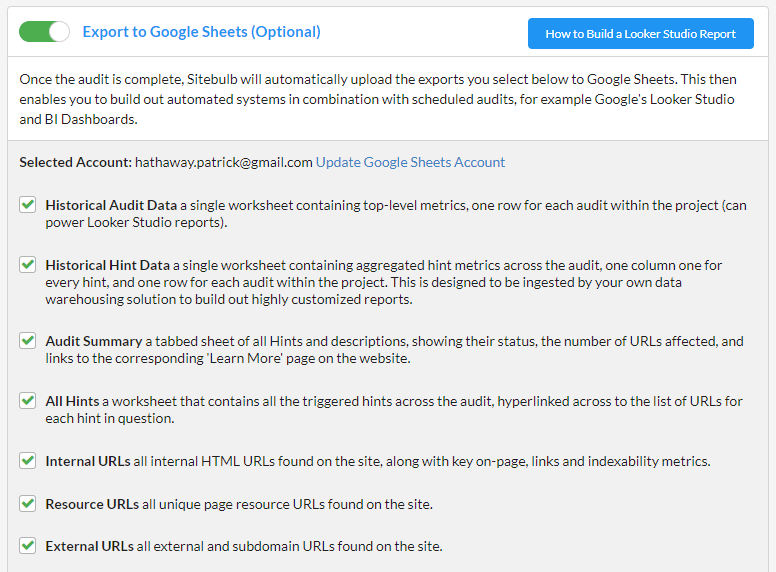
In a lot of cases, the first 4 options are most useful;
Whichever options you choose, Sitebulb will automatically build the exports then upload them to your Google Sheets account, as soon as the audit has completed.
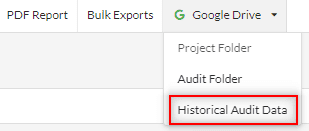
Once the audit is complete, you can navigate there directly from your Sitebulb audit by using the Google Drive dropdown in the top navigation.
While the 'auto-upload to sheets' function works for any audit, it is most powerful when you use it alongside recurring audits.
The features combine to allow you to set up fully automated workflows, such as:
Every week, new audit data will be pushed up to Sheets, which in turn will be pulled in by Looker Studio, so your entire team (and clients!) can benefit from the fresh crawl data.