Sitebulb allows you to configure the crawler to collect additional, custom data points as it crawls (in addition to all the 'normal' data like h1, title tag, meta description etc...).
This gives you additional flexibility when analysing data.
For example:
This guide covers the basic process for setting up content search within Sitebulb, including several examples. We have a separate guide for more advanced use-cases.
You can jump to a specific area of the guide using the jumplinks below:
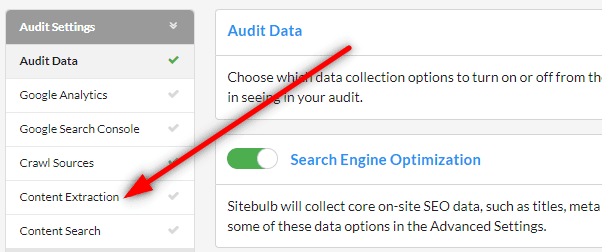
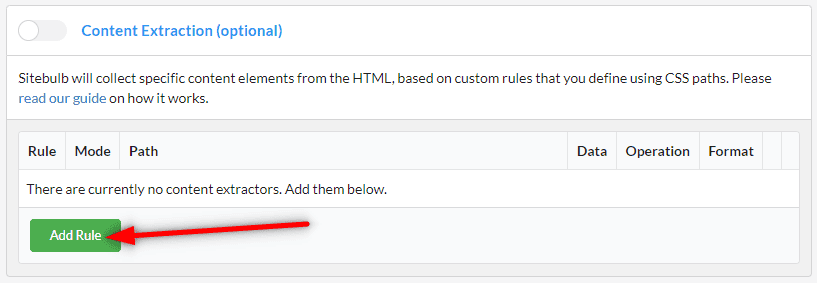
To get started, simply start a new audit, and from the setup options, scroll down to Extraction, and click to open up the Content Extraction option.
Then click on the green Add Rule button.
This will open up the on screen rule wizard, which contains instructions on what to do next.
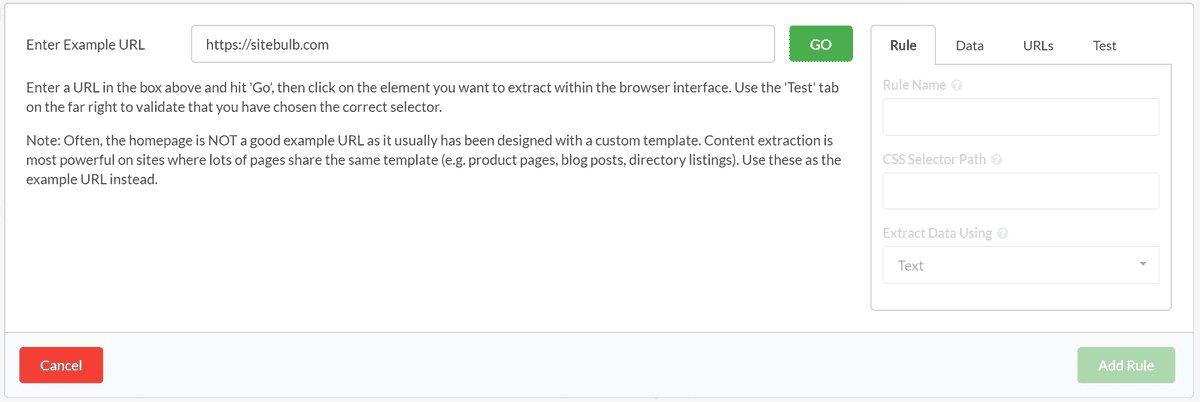
There are then a few steps to follow:
Super straightforward.
Here's a quick gif example showing me extracting the 3rd breadcrumb from one of our documentation pages:

Once you've added your rule, you can stop there, or just keep adding more rules. You will see all your rules in the audit setup page, ready for you to start the audit.
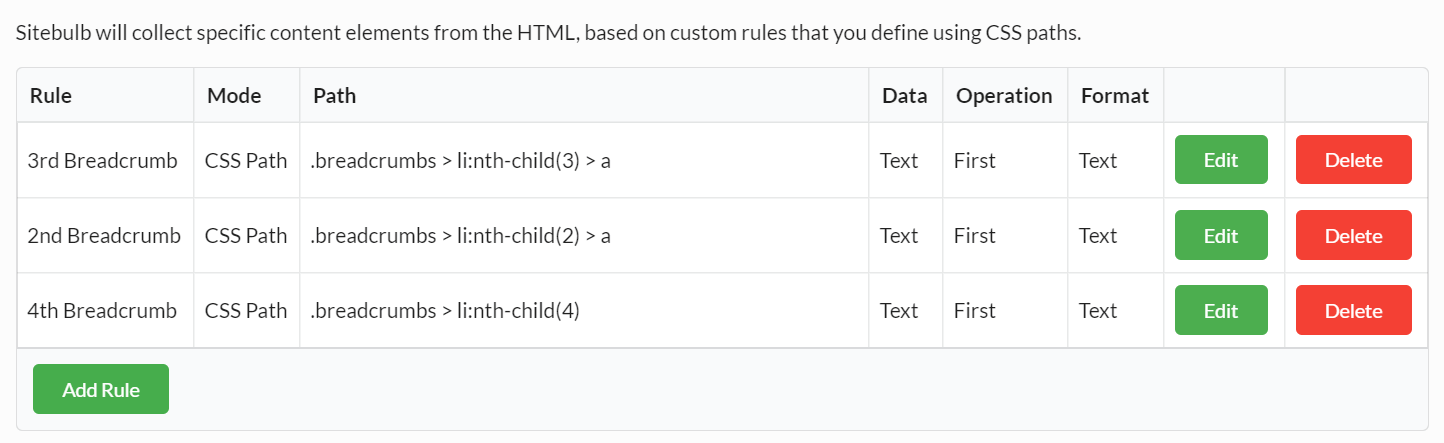
With a Sitebulb Pro license, there is no limit to the number of rules you can add, so collect all the data you need (with a Lite license there is a limit of 3 rules).
Once you're done adding rules and any other audit setup configurations, hit Start Now at the bottom right of the screen, to start the audit.
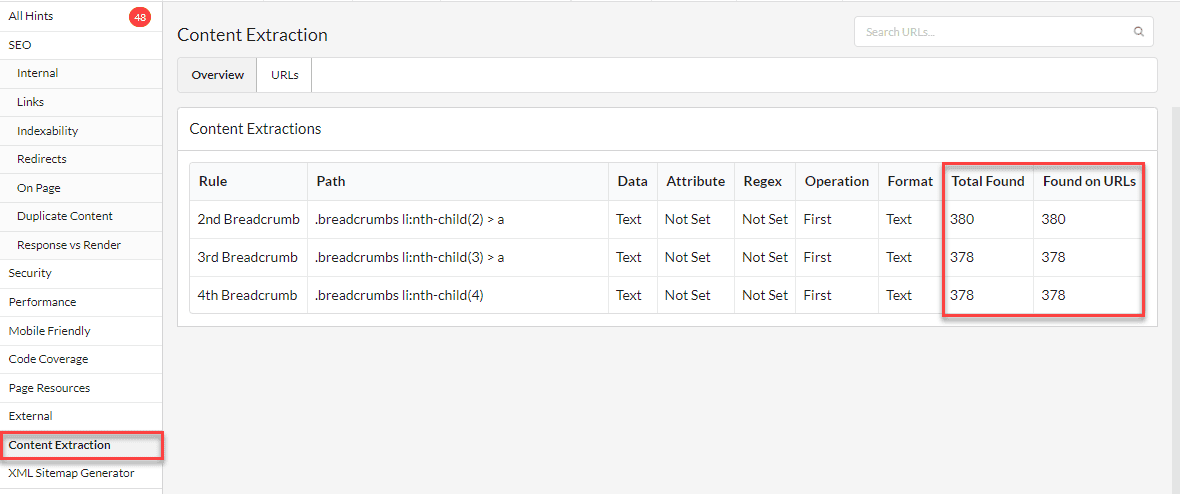
Once your audit is complete, you can access the data report using the left hand menu.
The Overview will show you details of the data totals for each different extractor:
Switching to the URLs tab shows you the URLs alongside the extracted data, each populated in one column per rule on the right.
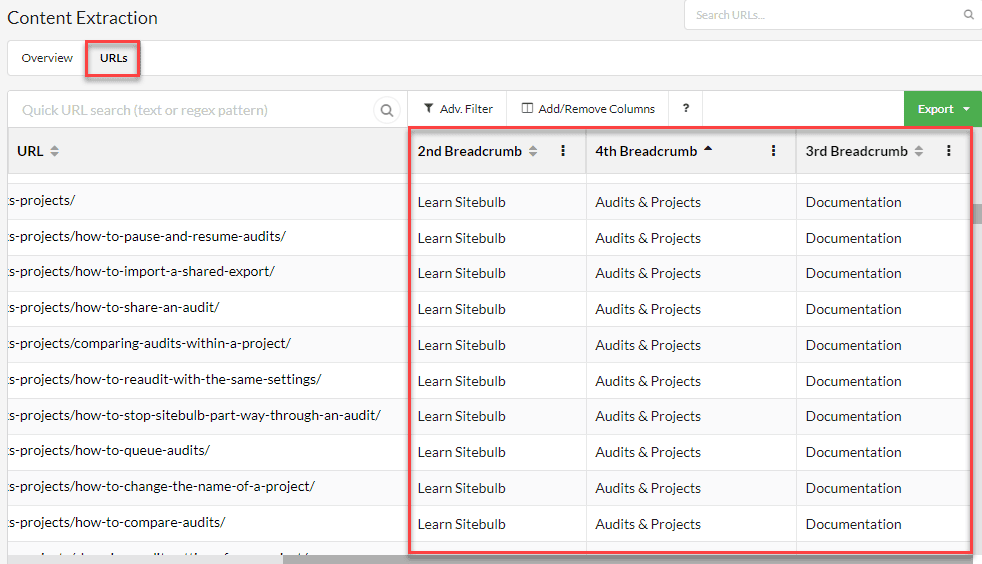
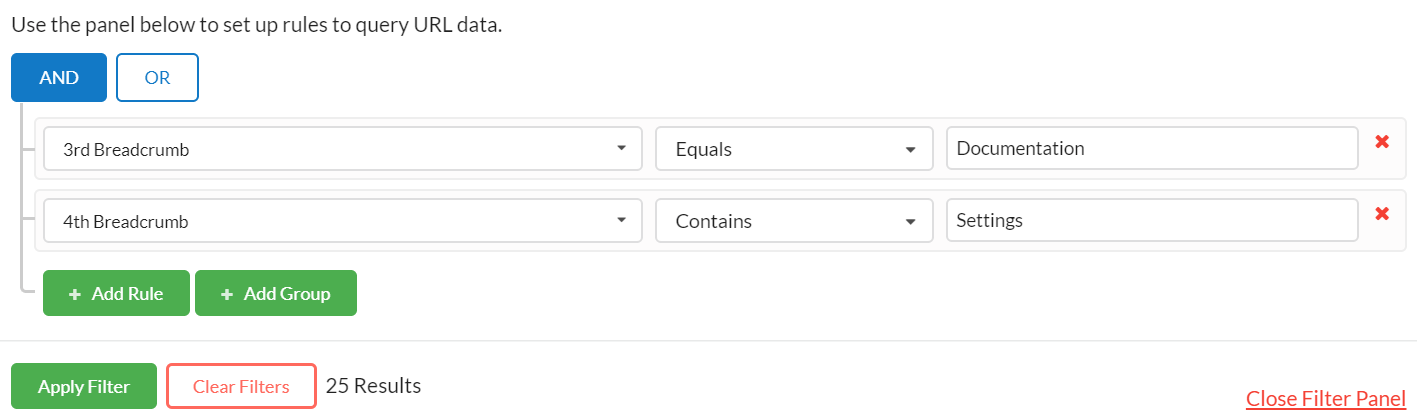
As always with URL Lists, you can add or remove columns so that you can easily combine technical crawl data with your extracted data. You can also create filters on the data to gain additional insights.
That is the basic setup, and this simple process will allow you to extract data easily and view it in your results.
In the examples below I will show you some straightforward use-cases for this data, and how to set the tool up to do the extraction. This will make use of some additional customisation options that we did not cover in the basic setup above.
There are also some more advanced options, which are designed for advanced users who are already very familiar with scraping content via CSS and/or Regex. We have a separate guide that covers the advanced content extraction features, so please check that out if you don't find what you are looking for here.
Let's say I'm crawling a competitor ecommerce site and I want to scrape some pricing data. I need to grab the product name and the price.
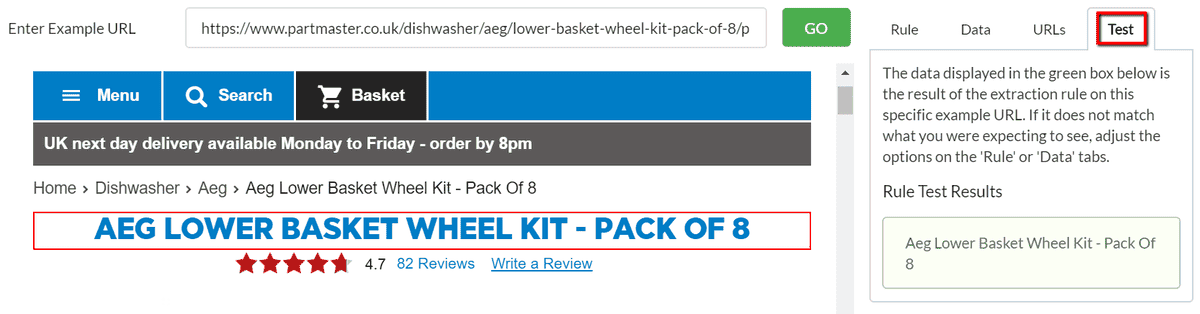
In the browser window I load up a product page as my Example URL and use the point-and-click method to select the selector that represents the product name.
You see the selector highlight in red, and I enter 'Product Name' as the Rule Name.
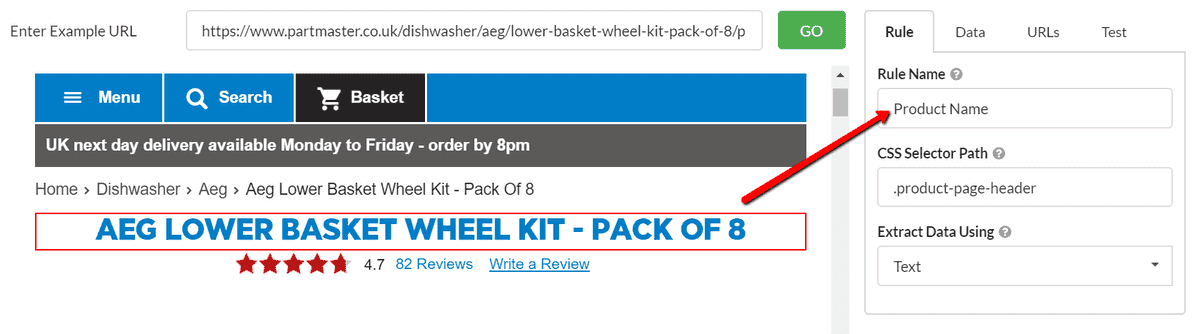
I can verify that the selector is set up correctly by navigating to the Test tab on the far right. Sure enough, the product name correctly appears in the green box, so I am confident with my selector and I hit the green Add Rule button in the bottom right.
For the next rule I want to scrape the price, so I scroll down in the browser window and point-and-click on the price, then add this selector:
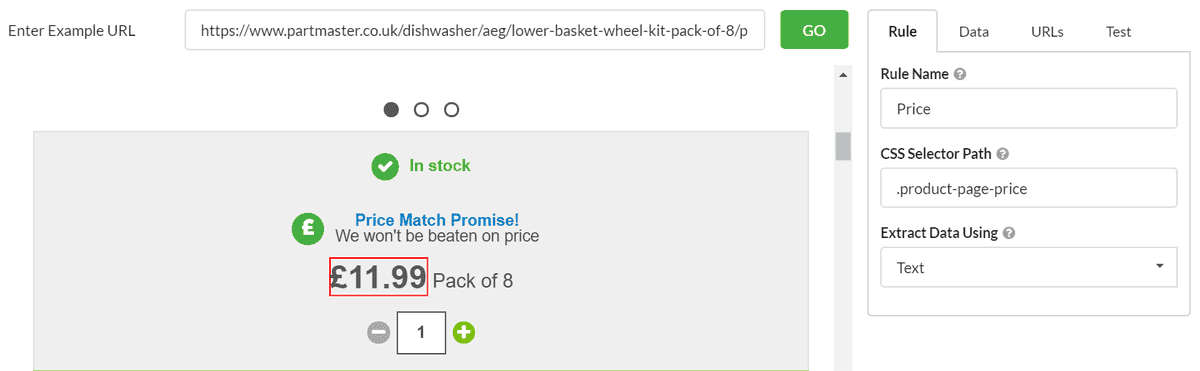
You can then procede to test and add the rule. When you run your audit you'll now see two columns containing product name and price for all of the product pages.
Let's say I've got a popular blog and I want to figure out which of my posts garners the most attention. Equally, this could be a competitor blog and I'm looking to steal a content strategy...
Either way, I want to grab some of the engagement data. In this example, blog comments seems a worthwhile metric, so I click to add and give it a name.
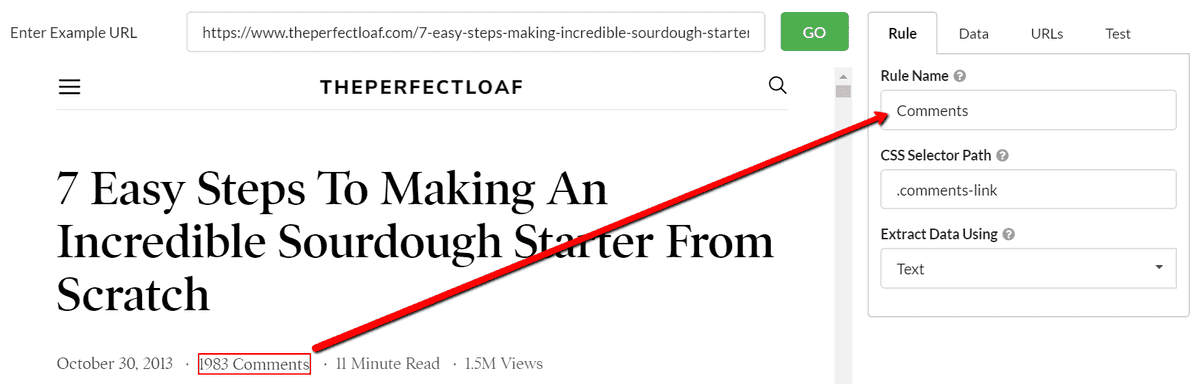
The 'Test' shows me I have the exact text data as displayed on screen:
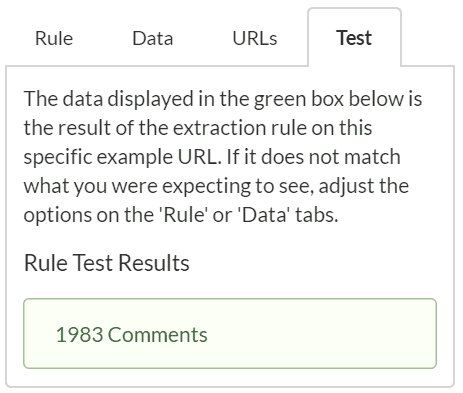
This is great! Although...
...it would actually be a bit cleaner if I just extracted the number, without the 'Comments' bit.
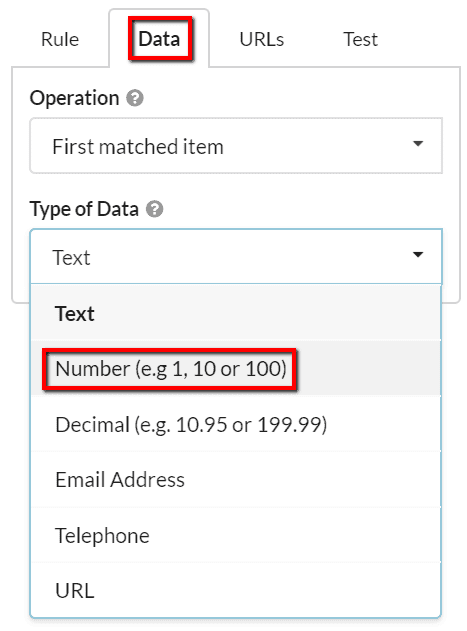
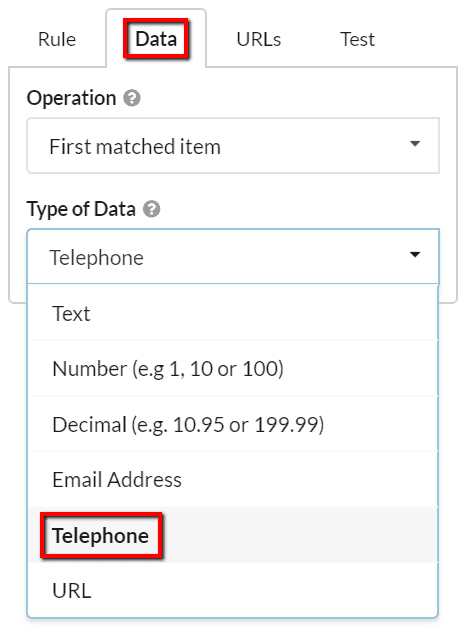
This is where we can use one of the more advanced customisation options by heading to the Data tab, and using the dropdown, switching the data type to 'Number':
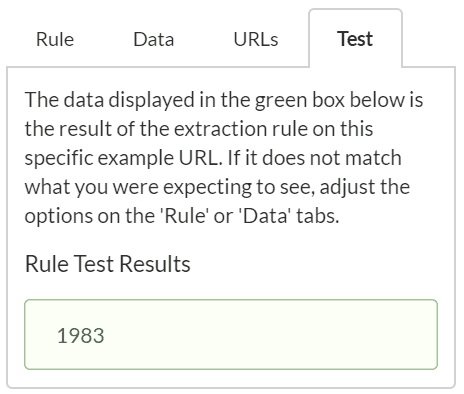
Now when we test again, the test result is a number. Perfect!
Let's also grab the views data, as this should be a good barometer for successful content:
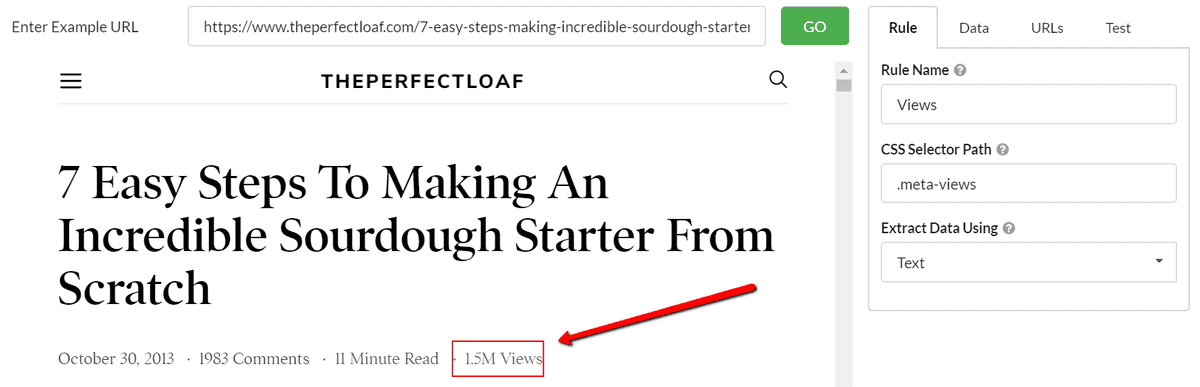
This one does not work as a 'number' as the data type is strictly not a number (1.5M vs 1,500,000).
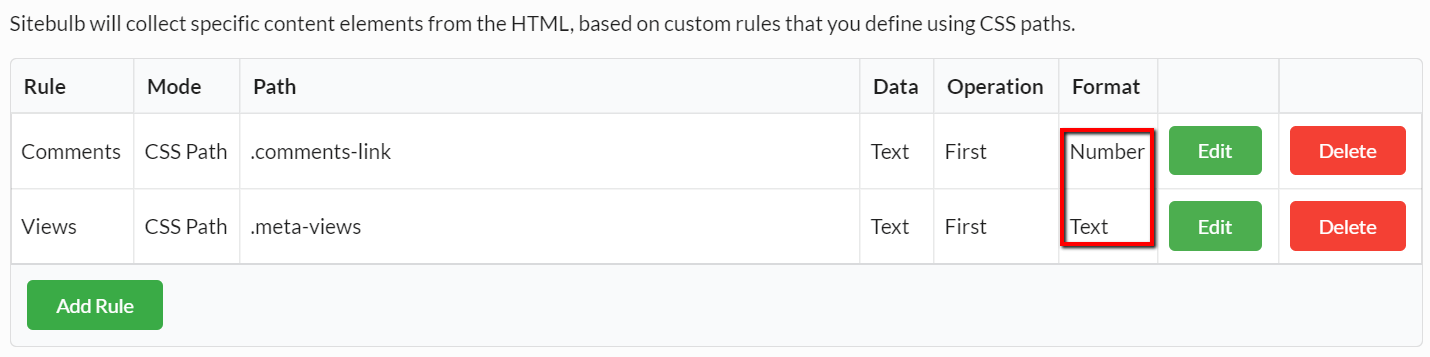
Now, once we add the second rule, we can see on the audit setup page that we have different formats for our two different rules:
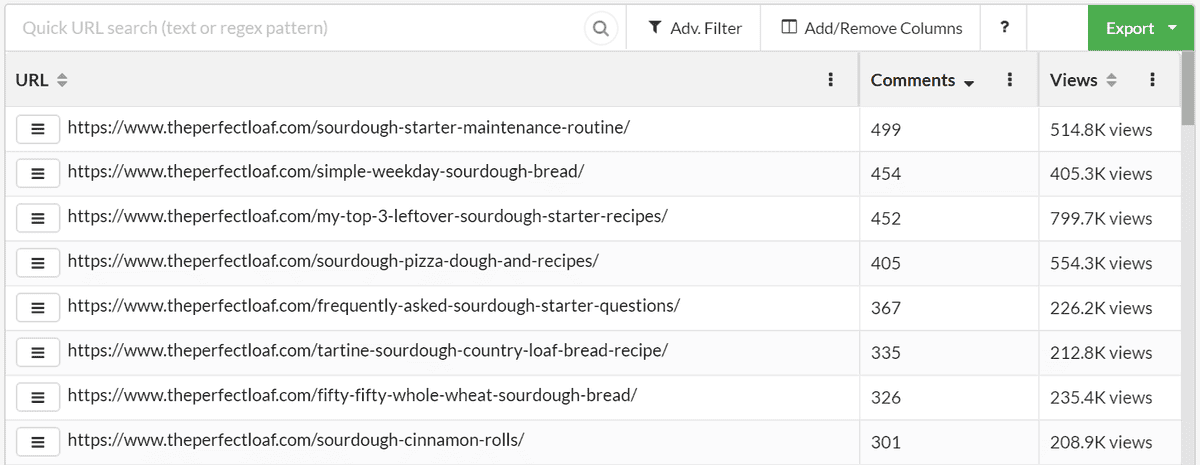
Once the analysis has run, we can easily sort or filter the data to find the best performing content:
Sometimes this sort of data scraping is useful for activities beyond website auditing - for example, for sales prospecting. Let's say I have my own flour company and I want to try and sell to commercial bakeries, setting Sitebulb up as a scraper would allow me to collect useful prospecting information from directory listings websites, en mass.
If I pick a site like Yell.com, I could easily scrape URLs for some local bakeries (using a free scraping extension such as Linkclump), then utilise Sitebulb in list mode and add some content extractors. I want to get the business listings URLs, which are URLs of the form https://www.yell.com/biz/business-name/.
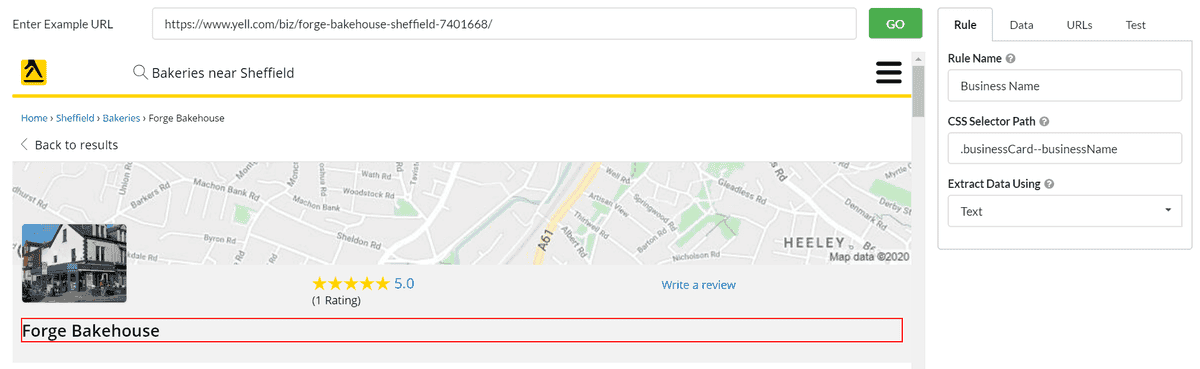
I need to enter one of these URLs as the Example URL; then I can start adding my selectors, such as 'Business Name'.
Since I'm prospecting, I might be interested in the phone number:
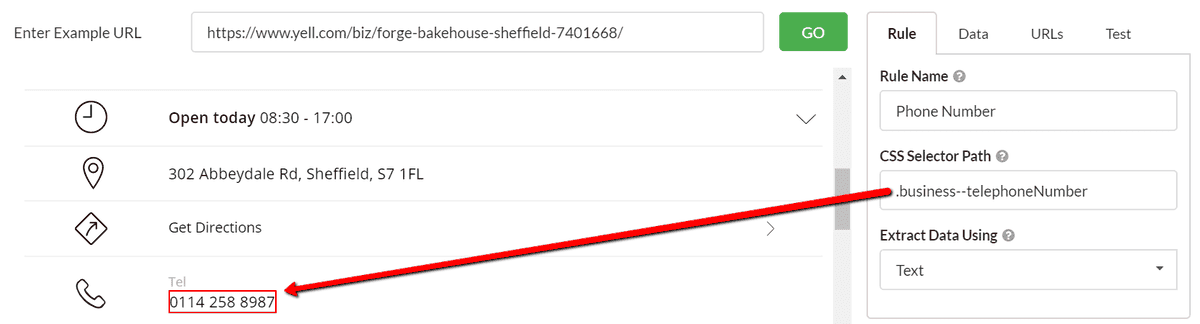
There is a built-in Data Type for 'Telephone', which is actually not needed in this example, but might be useful on other sites where the formatting is not so clean:
Adding the 'Address' requires a few clicks before I manage to grab the correct selector, which I can verify with the Test tab:

Finally, we want the website URL. This one requires a bit more work, as we aren't actually interested in the text as displayed on screen; in fact we want to grab an element from the underlying HTML. This time we need to change what we are actually extracting (from 'Text' to 'Inner HTML'), and then also change Data type to 'URL' from the drop-down menu.
This is where the Test tab really comes into its own, allowing us to verify at each step what data the tool will try to collect.
Again, it takes a bit of clicking around to select the correct element, and we can make use of the pre-built data type for 'URL' to simplify things:

This guide covers a lot of the typical use-cases and methodologies you will need to set up your extractors correctly. The important thing to realise is that while the point-and-click interface is super useful, it is very important that you test, and make adjustments as you go.
If you are looking for instructions for more advanced usage, please check out our advanced guide.